English
 italiano


To install a door handle, you align the latch mechanism in the edge bore, thread the spindle through both handle rosettes, secure the mounting screws through the backplate, and check that the latch retracts and springs back smoothly. Most door handle installations take 20 to 45 minutes with a screwdriver, a drill, and a chisel — no specialist trade skills are required. A new lever or knob handle set costs between USD 15 and USD 300 depending on style and security grade, while professional fitting typically adds USD 50 to USD 150 in labour.
This guide covers everything you need to know about how to install a door handle: choosing the right handle type for your door, the tools and parts required, a full step-by-step installation procedure for both new doors and replacement handles, and troubleshooting advice for the most common problems.
Content
- What Type of Door Handle Do You Need?
- Key Measurements to Take Before You Buy a Door Handle
- Tools and Materials Required to Install a Door Handle
- How to Install a Door Handle on an Existing Pre-Bored Door: Step-by-Step
- How to Install a Door Handle on a New Door: Drilling the Bore Holes
- How to Install a Door Handle on a Hollow-Core Door
- Door Handle Installation: DIY vs. Professional Fitting Compared
- Troubleshooting Common Door Handle Installation Problems
- Frequently Asked Questions About Door Handle Installation
- Q1: What height should a door handle be installed at?
- Q2: Can I install a door handle without drilling new holes?
- Q3: Which side of the door does the angled latch face toward?
- Q4: How do I install a door handle on a glass or UPVC door?
- Q5: How do I install a door handle with an integrated lock?
- Q6: How long does it take to install a door handle?
- Summary: Installing a Door Handle Successfully Every Time
What Type of Door Handle Do You Need?
Selecting the correct handle type before purchasing saves time and avoids costly returns. The right door handle depends on the door's thickness, the existing bore holes, the backset measurement, and whether the door is interior or exterior.
Common Door Handle Types Explained
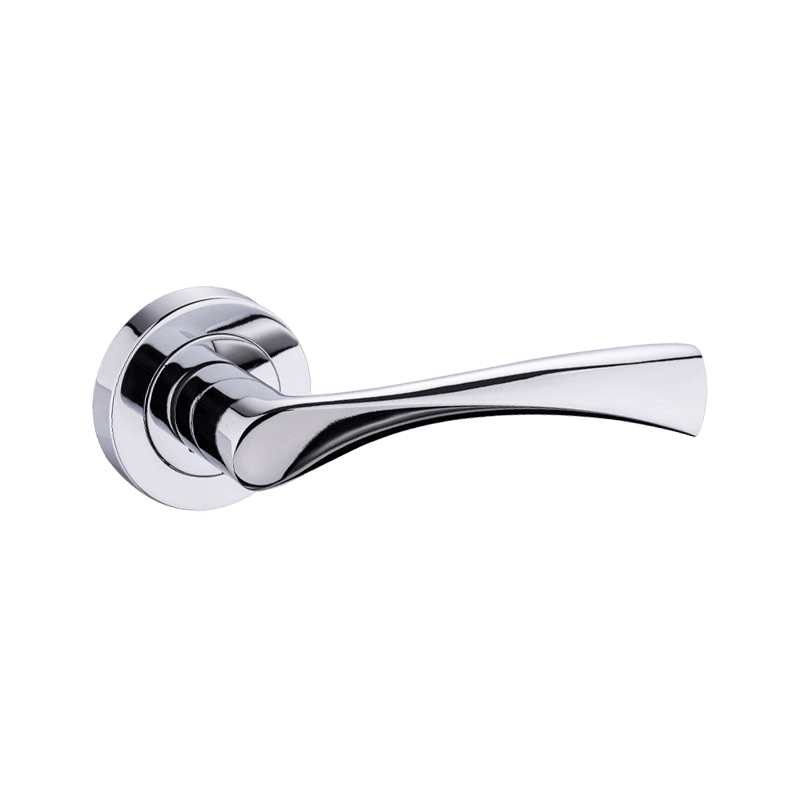
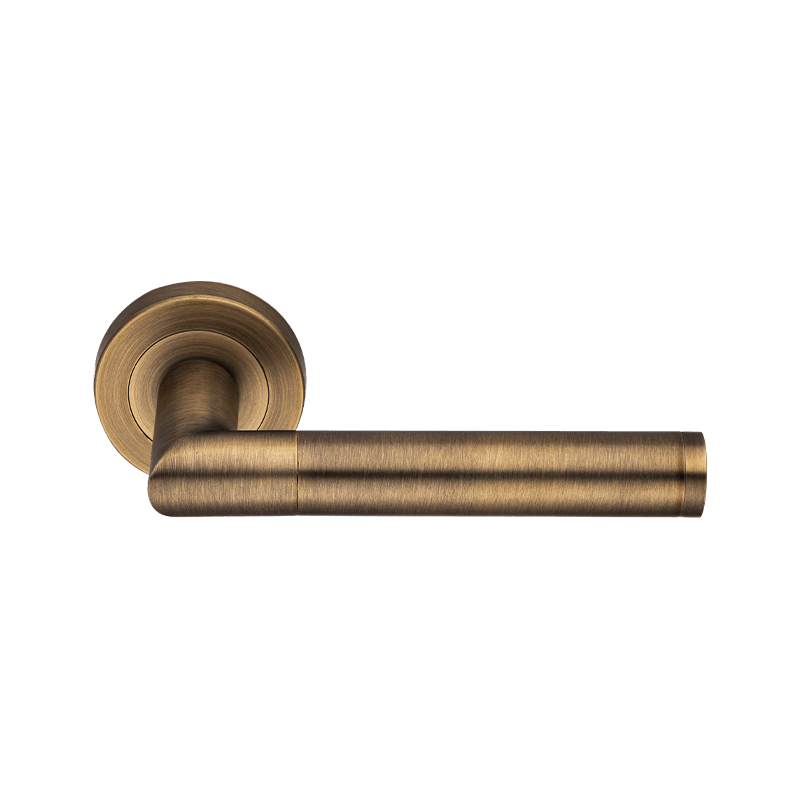
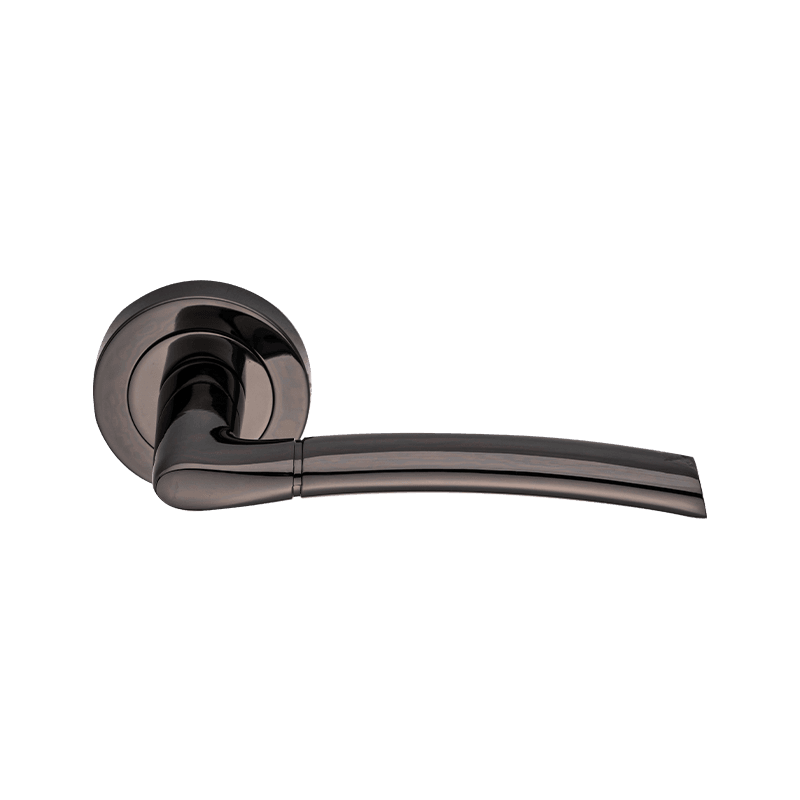
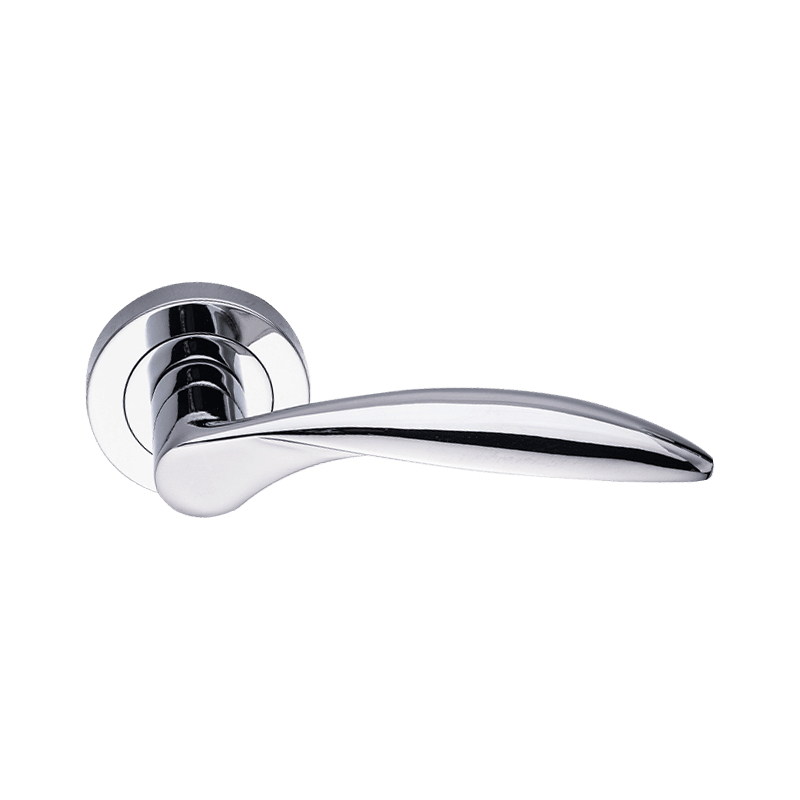
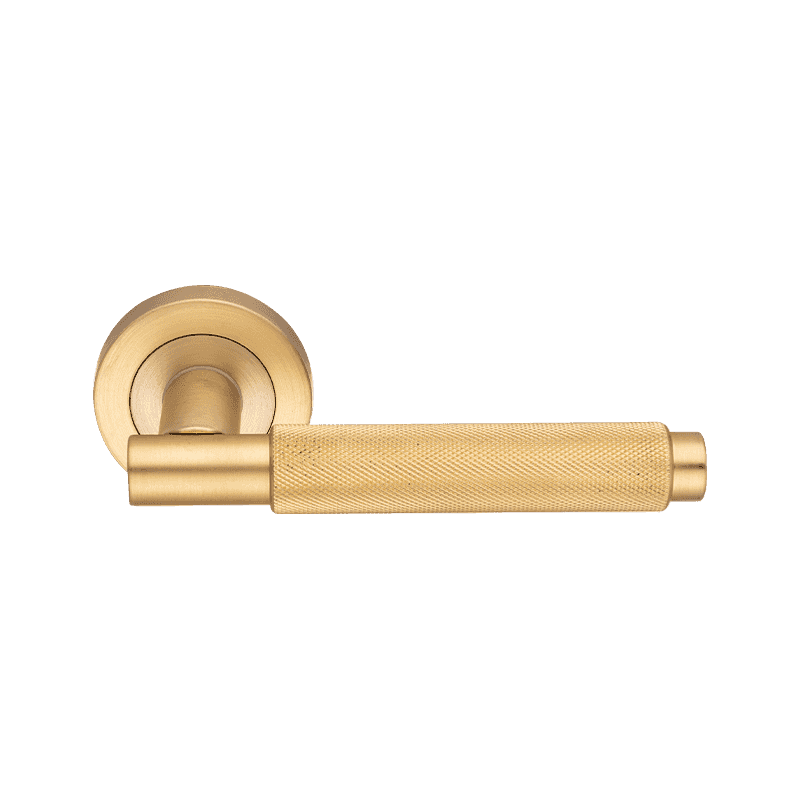
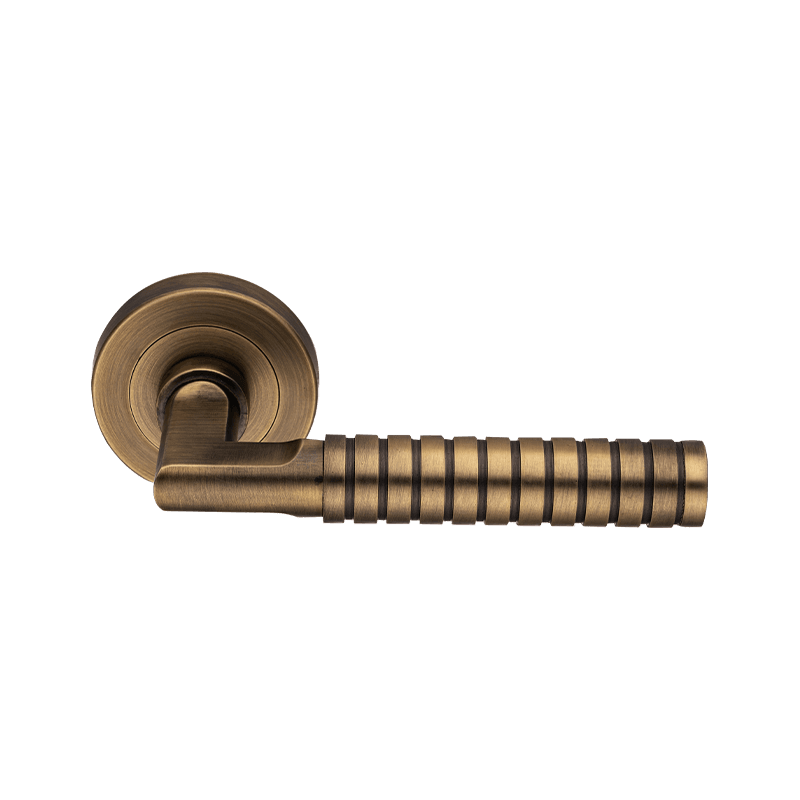
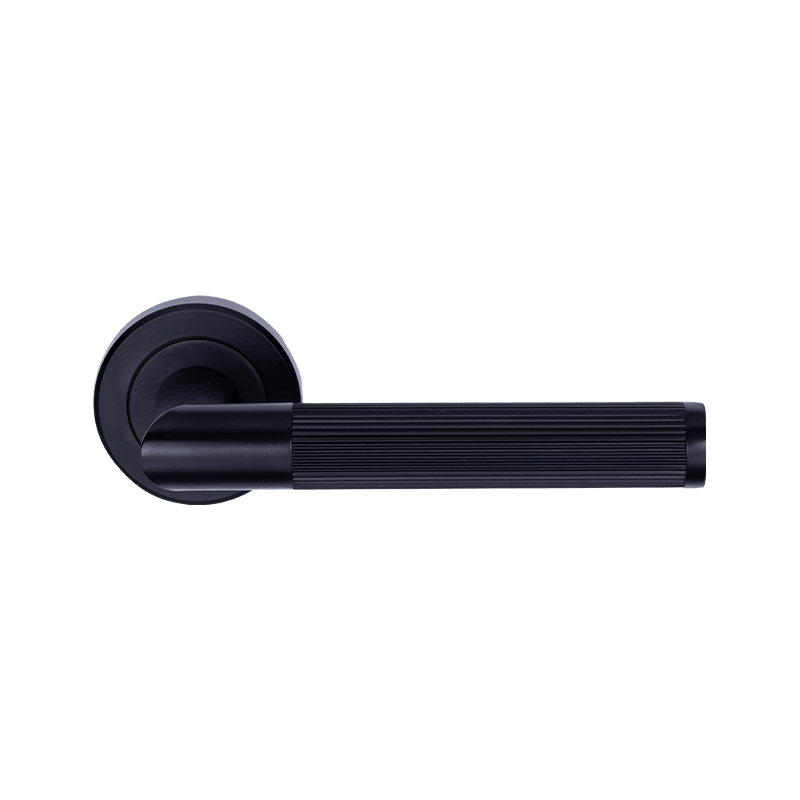
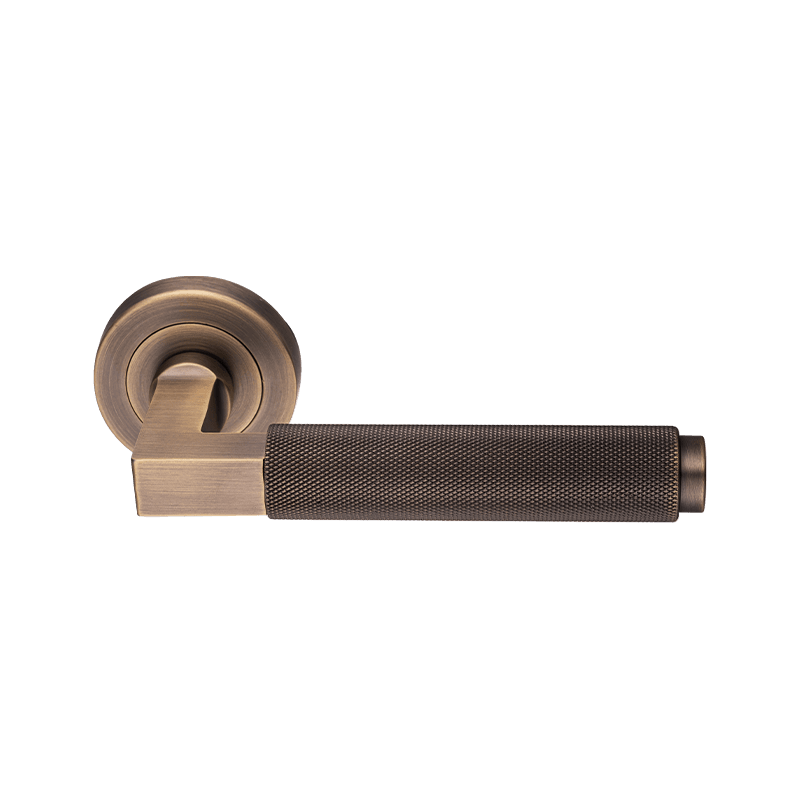
- Lever-on-rose handle — a lever grip mounted on a round rose plate; most common for interior doors; available in passage (no lock), privacy (bathroom push-button lock), and keyed-entry versions
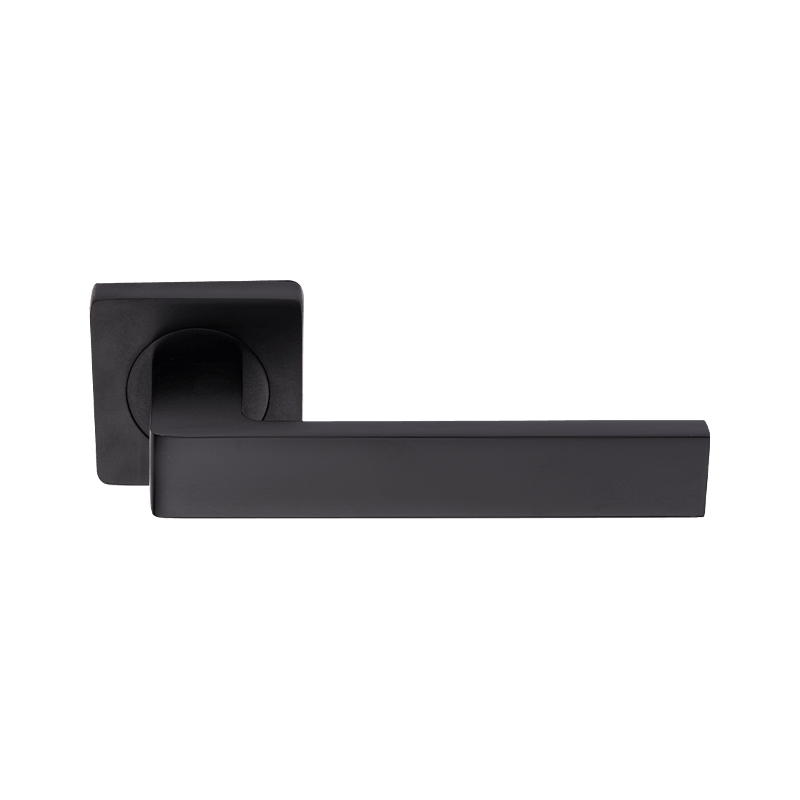
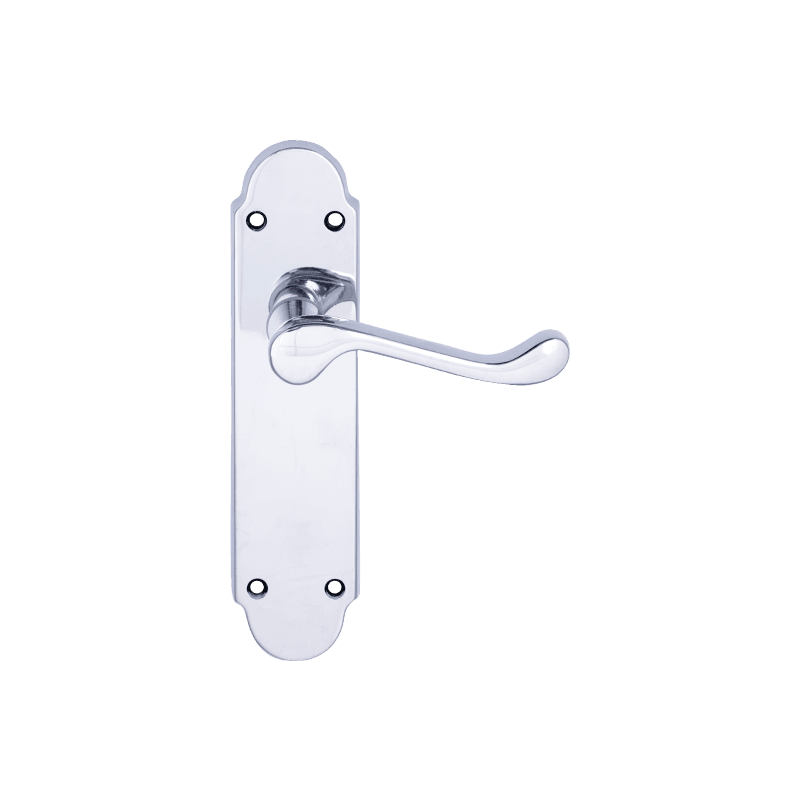
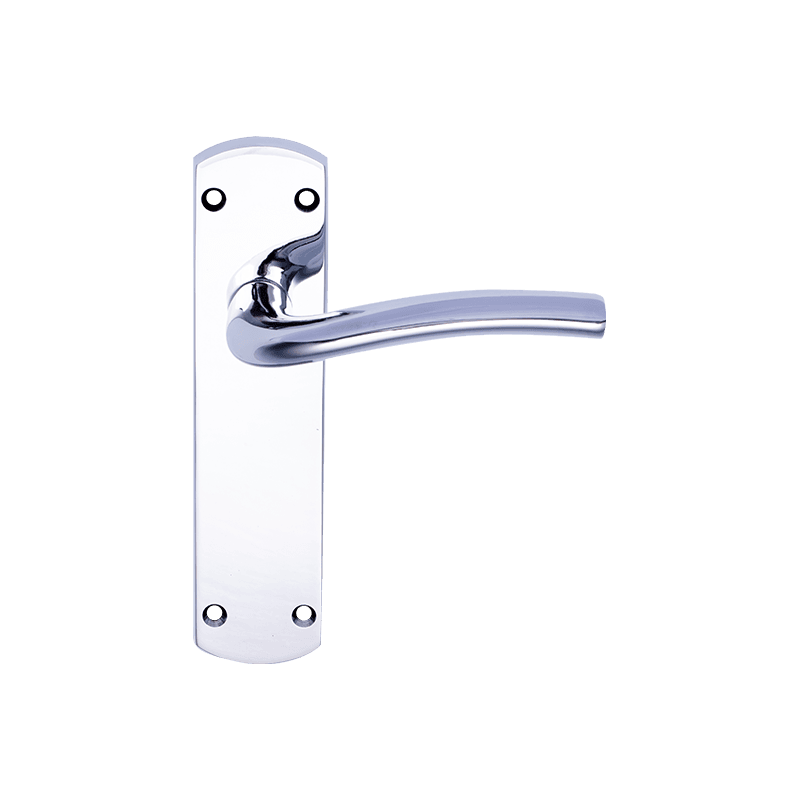
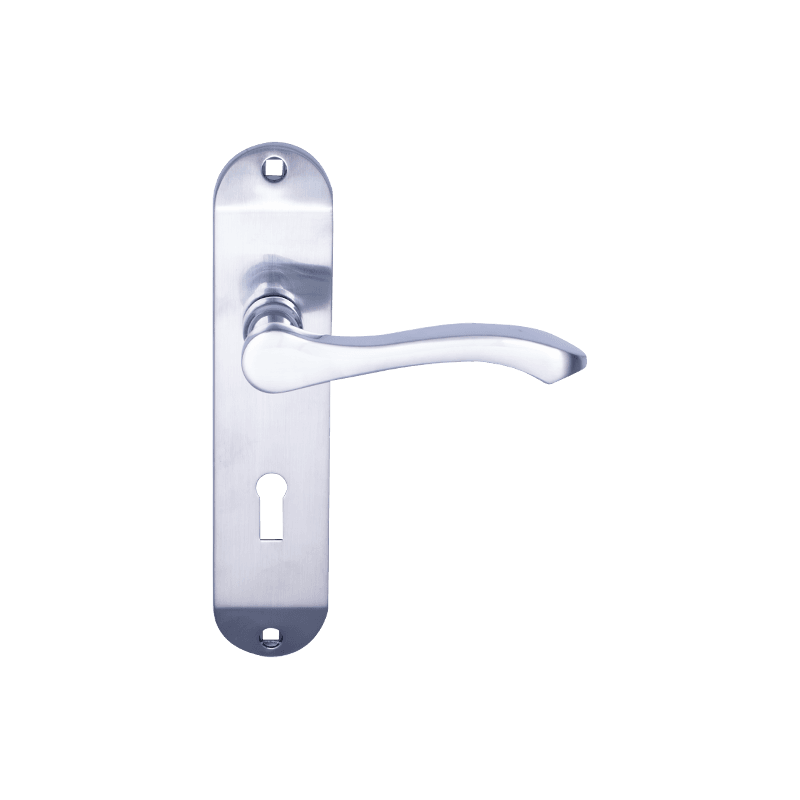
- Lever-on-backplate handle — lever mounted on a rectangular backplate that also houses the keyhole or thumb-turn; preferred for front and back exterior doors for a cleaner, more secure look
- Door knob — a round rotating grip; common in North America for interior doors; requires the same bored-hole preparation as a lever handle
- Pull handle — a fixed bar or D-ring handle that does not operate a latch; used on heavy entrance doors, sliding doors, and cabinet doors; installation is simpler as no latch mechanism is involved
- Mortice handle — a lever that operates a mortice lock body recessed fully into the door edge; more complex to install as the lock pocket must be precisely chiselled; common on timber-framed doors in the UK and Europe
| Handle Type | Typical Door | Lock Function | Install Difficulty | Average Cost (USD) |
| Lever-on-rose | Interior | Passage / Privacy | Easy | 20 - 120 |
| Lever-on-backplate | Exterior / Interior | Keyed entry / Deadbolt | Moderate | 40 - 220 |
| Door knob | Interior | Passage / Privacy / Keyed | Easy | 15 - 100 |
| Pull handle | Entrance / Sliding | None (pull only) | Very Easy | 25 - 200 |
| Mortice handle | Interior / Exterior | Full mortice lock | Hard | 50 - 300 |
Table 1: Comparison of door handle types by typical application, lock function, installation difficulty, and average product cost in USD.
Key Measurements to Take Before You Buy a Door Handle
Taking three measurements before purchasing ensures your new door handle fits without modification. Buying the wrong backset is the single most common mistake in DIY door handle installation.
1. Backset
The backset is the distance from the edge of the door (the face of the door edge) to the centre of the latch hole (the large round hole through the door face). Standard backsets are 60 mm (2-3/8 inch) for most interior doors and 70 mm (2-3/4 inch) for exterior and thicker doors. Many handle sets are adjustable between these two sizes. Measure carefully — an incorrect backset means the latch will not align with the strike plate on the door frame.
2. Door Thickness
Standard interior door thickness is 35 mm in the UK and 35–44 mm (1-3/8 to 1-3/4 inch) in North America. Exterior doors are typically 44 mm (1-3/4 inch). Check that your chosen handle's spindle (the square bar connecting both sides) is long enough for your door thickness, or that a longer spindle is available as an accessory.
3. Bore Hole Diameter
The large face hole (the cross-bore) for a standard tubular latch or cylindrical lock is 54 mm in the UK and 54 mm or 60 mm in North America. If you are fitting a new handle to an existing door with pre-cut holes, confirm the new handle's rose or backplate is large enough to cover the existing hole. If the existing hole is too large for the new handle's fixing holes to bite into solid timber, you will need to fill and re-bore.
Tools and Materials Required to Install a Door Handle
All the tools needed to install a door handle are standard household items. For a replacement handle on an existing pre-bored door, you may need nothing more than a screwdriver and five minutes of your time.
For Replacement Handle (Existing Bored Door)
- Crosshead (Phillips) screwdriver — for handle fixing screws
- Flathead screwdriver — for prying off rose covers and adjusting latch face plates
- Allen key (hex key) — many modern handles use a grub screw to secure the handle to the spindle
- Tape measure and pencil — for checking and marking backset if adjusting latch position
For New Door or Fitting New Bore Holes
- Drill with hole saw attachment — typically 54 mm or 60 mm hole saw for the cross-bore face hole; 25 mm spade or auger bit for the edge latch bore
- Sharp wood chisel (25 mm) — for chiselling the latch faceplate recess into the door edge so the latch sits flush
- Mallet — to drive the chisel cleanly
- Combination square and marking gauge — for accurately locating the centre of bore holes on both door faces and the door edge
- Masking tape — apply over the drill entry point on the door face to reduce tear-out of the veneer or paint finish when drilling through
- Door handle installation jig (optional) — a plastic template jig, available for under USD 20, eliminates measuring errors by clamping to the door and guiding all drill positions; highly recommended for first-time installers
How to Install a Door Handle on an Existing Pre-Bored Door: Step-by-Step
This is the most common scenario — replacing a worn or outdated handle on a door that already has the correct bore holes. The entire process takes around 20 minutes.
Step 1 — Remove the Old Door Handle
Look on the collar or rose of the existing handle for visible screws — if present, unscrew them and pull the two handle halves apart. If no screws are visible, the rose has a twist-off or snap-off cover concealing them underneath. Rotate the rose cover anti-clockwise or use a thin flathead screwdriver to pop off the cover plate. Once the two sides are separated, remove the latch unit from the door edge by unscrewing its faceplate screws and sliding it out.
Step 2 — Check and Set the Latch Backset
Before inserting the new latch, check whether it needs to be set to 60 mm or 70 mm backset. Most tubular latches have an adjustable case — push the latch bolt in and rotate the barrel 180 degrees to switch between the two backset positions. Confirm which position you need by measuring from the door edge to the centre of the cross-bore hole. Insert the latch into the edge hole with the angled face of the latch bolt pointing in the direction of closing (toward the door frame side).
Step 3 — Chisel the Latch Faceplate Recess (if Needed)
Hold the latch in place in the edge hole and mark around the faceplate with a pencil. The faceplate must sit flush with or very slightly below the door edge surface — if it protrudes, the door will not close against the frame. Use a sharp chisel to pare out a shallow recess to the exact depth of the faceplate thickness (typically 2–3 mm). Work carefully in thin cuts; removing too much timber means the faceplate will be recessed too deep and the screws will not pull it tight. Screw the faceplate into place with the two supplied screws.
Step 4 — Fit the Spindle and First Handle
Thread the square spindle through the square hole in the latch body. Most spindles are supplied at a standard length and may need to be cut to match your door thickness — the spindle should protrude equally on both sides by approximately 15–20 mm. Fit the first handle (typically the outer or non-locking side) onto the spindle, ensuring the spindle engages fully with the lever's square socket. Tighten any grub screw in the lever collar with the supplied Allen key to secure the lever to the spindle so it cannot be pulled off.
Step 5 — Mount the Rose or Backplate
Hold the rose or backplate against the door face, aligning it centrally over the bore hole. Mark the fixing screw positions through the rose holes with a pencil, then drill pilot holes (approximately 2 mm diameter, 25 mm deep) to prevent the timber from splitting when the screws are driven in. Drive the fixing screws through the rose and into the door until the rose sits flat and firm against the door face. Do not overtighten — crushing the rose into a hollow-core door can split the door skin.
Step 6 — Fit the Second Handle and Test
Fit the second handle on the opposite side of the door, engaging it onto the exposed end of the spindle. Secure its rose with screws as in Step 5. Operate both handles several times — the latch bolt should retract smoothly when either handle is depressed and spring back immediately on release. A sluggish return indicates the latch spring is weak (replace the latch unit) or the spindle is binding against the latch body (check for misalignment or trim the spindle length by 1–2 mm).
Step 7 — Fit and Adjust the Strike Plate
Close the door and observe where the latch bolt meets the door frame. Apply a small amount of lipstick or chalk to the latch bolt face, then close the door firmly — the mark left on the frame shows the exact position of the latch. Hold the strike plate over this mark and trace its outline. Chisel a shallow recess for the plate and a deeper pocket for the latch bolt to enter. Screw the strike plate into place and test that the door closes with a positive click and the latch fully enters the strike pocket.
How to Install a Door Handle on a New Door: Drilling the Bore Holes
Installing a door handle on a new unbored door requires drilling two intersecting holes accurately. Misaligned holes are the most common cause of a handle that binds or a latch that does not retract properly — precision at this stage saves significant remedial work.
- Mark the handle height — standard door handle height from finished floor level is 900 mm to 1050 mm (approximately 36 to 42 inches); 1000 mm (about 39.5 inches) is the most common choice in both residential and commercial settings; mark this centre height on both faces of the door edge
- Mark the backset centre — measure your chosen backset (60 mm or 70 mm) from the door edge along the horizontal centre line on the door face; mark this point on both faces using a combination square to ensure the marks are perfectly aligned
- Drill the cross-bore face hole — fit the correct hole saw (54 mm or 60 mm as required) in your drill; drill from one face until the pilot bit just breaks through the opposite face, then complete the hole from that side — this prevents tear-out on the visible face finish; drill at exactly 90 degrees to the door face
- Drill the edge bore — mark the centre of the door edge at the same height as the face holes; the edge bore must be perfectly centred on the door edge thickness and must connect with the centre of the cross-bore; use a 25 mm spade or auger bit; drill to a depth equal to the latch case length (typically 65–75 mm)
- Mark and chisel the faceplate recess — insert the latch into the edge bore, trace the faceplate outline, and chisel the recess as described in Step 3 above
- Continue with Steps 2–7 from the replacement handle procedure above
How to Install a Door Handle on a Hollow-Core Door
Hollow-core doors require more care during installation because the thin outer skins (typically 3–4 mm hardboard or MDF veneer over a cardboard or timber-grid core) can crack if screws are over-tightened or if the rose drilling is too close to the bore hole edge. The bore hole procedure is identical to a solid door, but observe the following additional precautions.
- Drill slowly with a sharp hole saw — blunt hole saws tear the veneer face; apply masking tape over the drill entry area and use a slow speed setting
- Check for solid timber blocking — most hollow-core doors have a solid timber insert (called a lock block) on the handle side edge, approximately 150–200 mm wide; verify the block is present by tapping — a solid sound versus a hollow sound makes the difference obvious; if the bore hole lands in the hollow area, the latch will have nothing to anchor to and the door must be replaced or rebuilt
- Use short screws for the rose — standard rose fixing screws of 30–35 mm are long enough to penetrate the skin and engage the lock block; longer screws may push through into the hollow void and lose grip
- Do not overtighten — tighten rose screws only until the rose is snug against the door face; excessive torque crushes the thin skin and creates a visible dent
Door Handle Installation: DIY vs. Professional Fitting Compared
For most standard interior door handle replacements, DIY is entirely practical and saves USD 50 to USD 150 in labour. Professional fitting is advisable for high-security exterior doors, multi-point locking systems, or when structural timber work is needed.
| Factor | DIY Installation | Professional Installation |
| Labour cost | USD 0 | USD 50 - 150 per door |
| Time required | 20 - 60 minutes | 15 - 30 minutes (experienced fitter) |
| Tools needed | Screwdriver, drill, chisel (basic set) | Supplied by fitter |
| Suitable for | Replacement handles, standard interior doors | New bores, exterior security, multi-point locks |
| Risk of error | Moderate (misaligned bores, split timber) | Very Low |
| Warranty / insurance | None | Typically 1-year workmanship guarantee |
Table 2: Comparison of DIY versus professional door handle installation across cost, time, suitability, and risk factors.
Troubleshooting Common Door Handle Installation Problems
Even a careful installation can produce minor issues at first. Most door handle problems after installation fall into one of five categories and can be resolved without starting over.
Latch Does Not Spring Back
A latch that stays retracted when the lever is released indicates either a weak latch spring (replace the latch unit — they cost USD 5–15) or excessive friction between the spindle and latch body. Check that the spindle is not too long and is not pressing hard against the inner latch mechanism. Trim 1–2 mm from one end of the spindle and retest.
Handle Droops or Drops Down
A lever that droops below horizontal when released means the rose grub screw or set screw is not tightened against the spindle. Locate the grub screw in the lever collar (usually on the underside of the lever, at the point where it meets the rose) and tighten firmly with the correct Allen key size. If the lever still droops, the spindle may be worn or undersized — replace the spindle with the correct 8 mm square cross-section.
Latch Does Not Reach the Strike Plate
If the latch bolt does not fully engage the strike plate pocket, the door will rattle or bounce open. First check that the strike plate is centred on the latch mark. If it is misaligned by less than 3 mm, reposition the strike plate by slotting the screw holes with a file. For gaps of 4 mm or more, remove the strike plate, fill the old screw holes with timber plugs or wood filler, allow to cure, and refit the strike plate in the correct position.
Handle Is Stiff or Hard to Operate
A stiff handle is usually caused by the spindle binding within the latch body, the latch body being slightly twisted in the edge bore, or the rose mounting screws being too tight and compressing the door skin against the rose in a way that puts side load on the spindle. Loosen the rose screws slightly, check that the latch faceplate sits flat and flush, and apply a small amount of dry PTFE lubricant spray into the latch body through the spindle hole.
Rose or Backplate Will Not Sit Flat
A rose that tilts or rocks on the door face indicates the bore hole is off-centre relative to the rose fixing holes, or there is a ridge of timber around the hole edge from the drilling process. Sand the bore hole edge smooth with a rolled piece of coarse sandpaper, and if the rose still tilts, add a thin packing shim (a piece of card or thin MDF) behind the lower or higher side to level it before final tightening.
Frequently Asked Questions About Door Handle Installation
Q1: What height should a door handle be installed at?
Door handle height should be between 900 mm and 1050 mm from the finished floor level (approximately 36 to 42 inches). The most widely used height in residential construction is 1000 mm (about 39 inches). For ADA (Americans with Disabilities Act) compliance in commercial and public buildings in the USA, door hardware must be positioned between 34 inches (864 mm) and 48 inches (1219 mm) from the floor, with an operable force of no more than 5 lbf (22 N).
Q2: Can I install a door handle without drilling new holes?
Yes — if you are replacing an existing handle on a door that already has the correct bore holes, no drilling is required. Simply remove the old handle and latch, fit the new latch (adjusting the backset if needed), and mount the new handles as described in the step-by-step guide above. The only scenario where additional drilling is needed is if your new handle has a different rose fixing hole pattern and the new holes fall in positions that miss the existing timber around the bore hole.
Q3: Which side of the door does the angled latch face toward?
The angled (bevelled) face of the latch bolt must always point toward the door frame — that is, in the direction the door closes. When the door closes, the angled face rides over the lip of the strike plate and compresses the latch spring, allowing the door to latch without resistance. If the latch is fitted the wrong way round, the flat face of the bolt will slam against the strike plate and the door will not close. Most tubular latches are reversible by removing the two small screws on the faceplate and flipping the latch body.
Q4: How do I install a door handle on a glass or UPVC door?
UPVC door handles use a different fixing system from timber door handles. They are typically retained by two long machine screws (called through-bolts or fixing bolts) that pass through the door panel and connect the two handle backplates directly together, clamping them against the door face. Measure the existing bolt centres (the distance between the two fixing screw holes) and the spindle length before ordering a replacement — common UPVC door handle fixing centre distances are 92 mm, 122 mm, and 210 mm. Glass doors with patch fittings use specialist clamp-type handles that require no drilling into the glass itself.
Q5: How do I install a door handle with an integrated lock?
Handles with integrated keyed locks (entrance handle sets) include the lock cylinder as part of the handle assembly. The installation procedure is the same as for a standard lever handle, with one additional step: after fitting the handle and latch, insert the lock cylinder into the rose housing and secure it with the retaining clip or set screw supplied. Test the key operation before closing the door — always test with the door open first to ensure the key fully retracts the latch before relying on it as your only entry point.
Q6: How long does it take to install a door handle?
A direct door handle replacement on an existing pre-bored door takes an experienced DIYer approximately 15 to 25 minutes. A first-time installer should allow 30 to 45 minutes. Installing a handle on a new door requiring bore holes takes 45 to 90 minutes including marking, drilling, and chiselling the latch recess. A professional carpenter or locksmith typically completes a standard handle replacement in 15 minutes or less.
Summary: Installing a Door Handle Successfully Every Time
Knowing how to install a door handle correctly is a practical skill that saves money and ensures reliable, secure door operation for years. The key principles are consistent across all handle types: measure the backset and door thickness before purchasing, drill bore holes accurately and at 90 degrees, always chisel a flush faceplate recess, and test both the latch action and the strike plate alignment before considering the job complete.
- Measure backset first — the most common purchasing mistake is buying the wrong backset; measure before you buy
- Use a door handle jig for new bore holes — a USD 15 jig eliminates alignment errors and pays for itself the first time you use it
- Always replace the latch when fitting a new handle set — a new handle on an old stiff latch will never operate as smoothly as intended
- Apply a lipstick test on the strike plate position before chiselling — transferring the latch position precisely avoids a misaligned strike that needs reworking
- Test the handle with the door open before closing it for the first time — especially when fitting a keyed entry handle, to ensure you are not locked out